Section 5: Playfield Swap
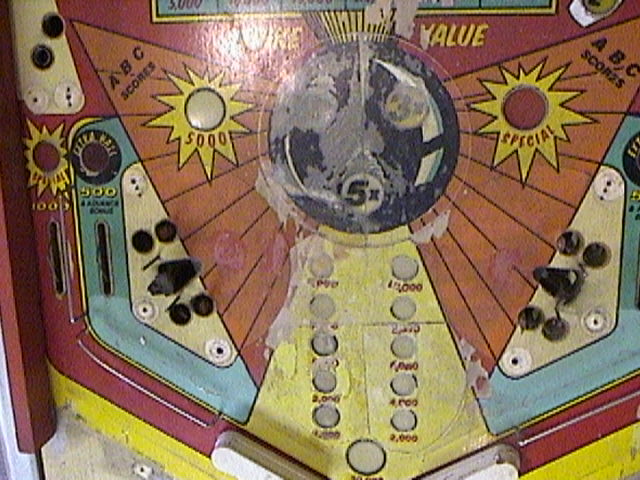
The original playfield was in horrible shape. I found a used playfield for cheap. The used playfield was still only average, but it was tons better than the original. The used playfield had ball swirls and some lifting in the red areas. I touched these up.
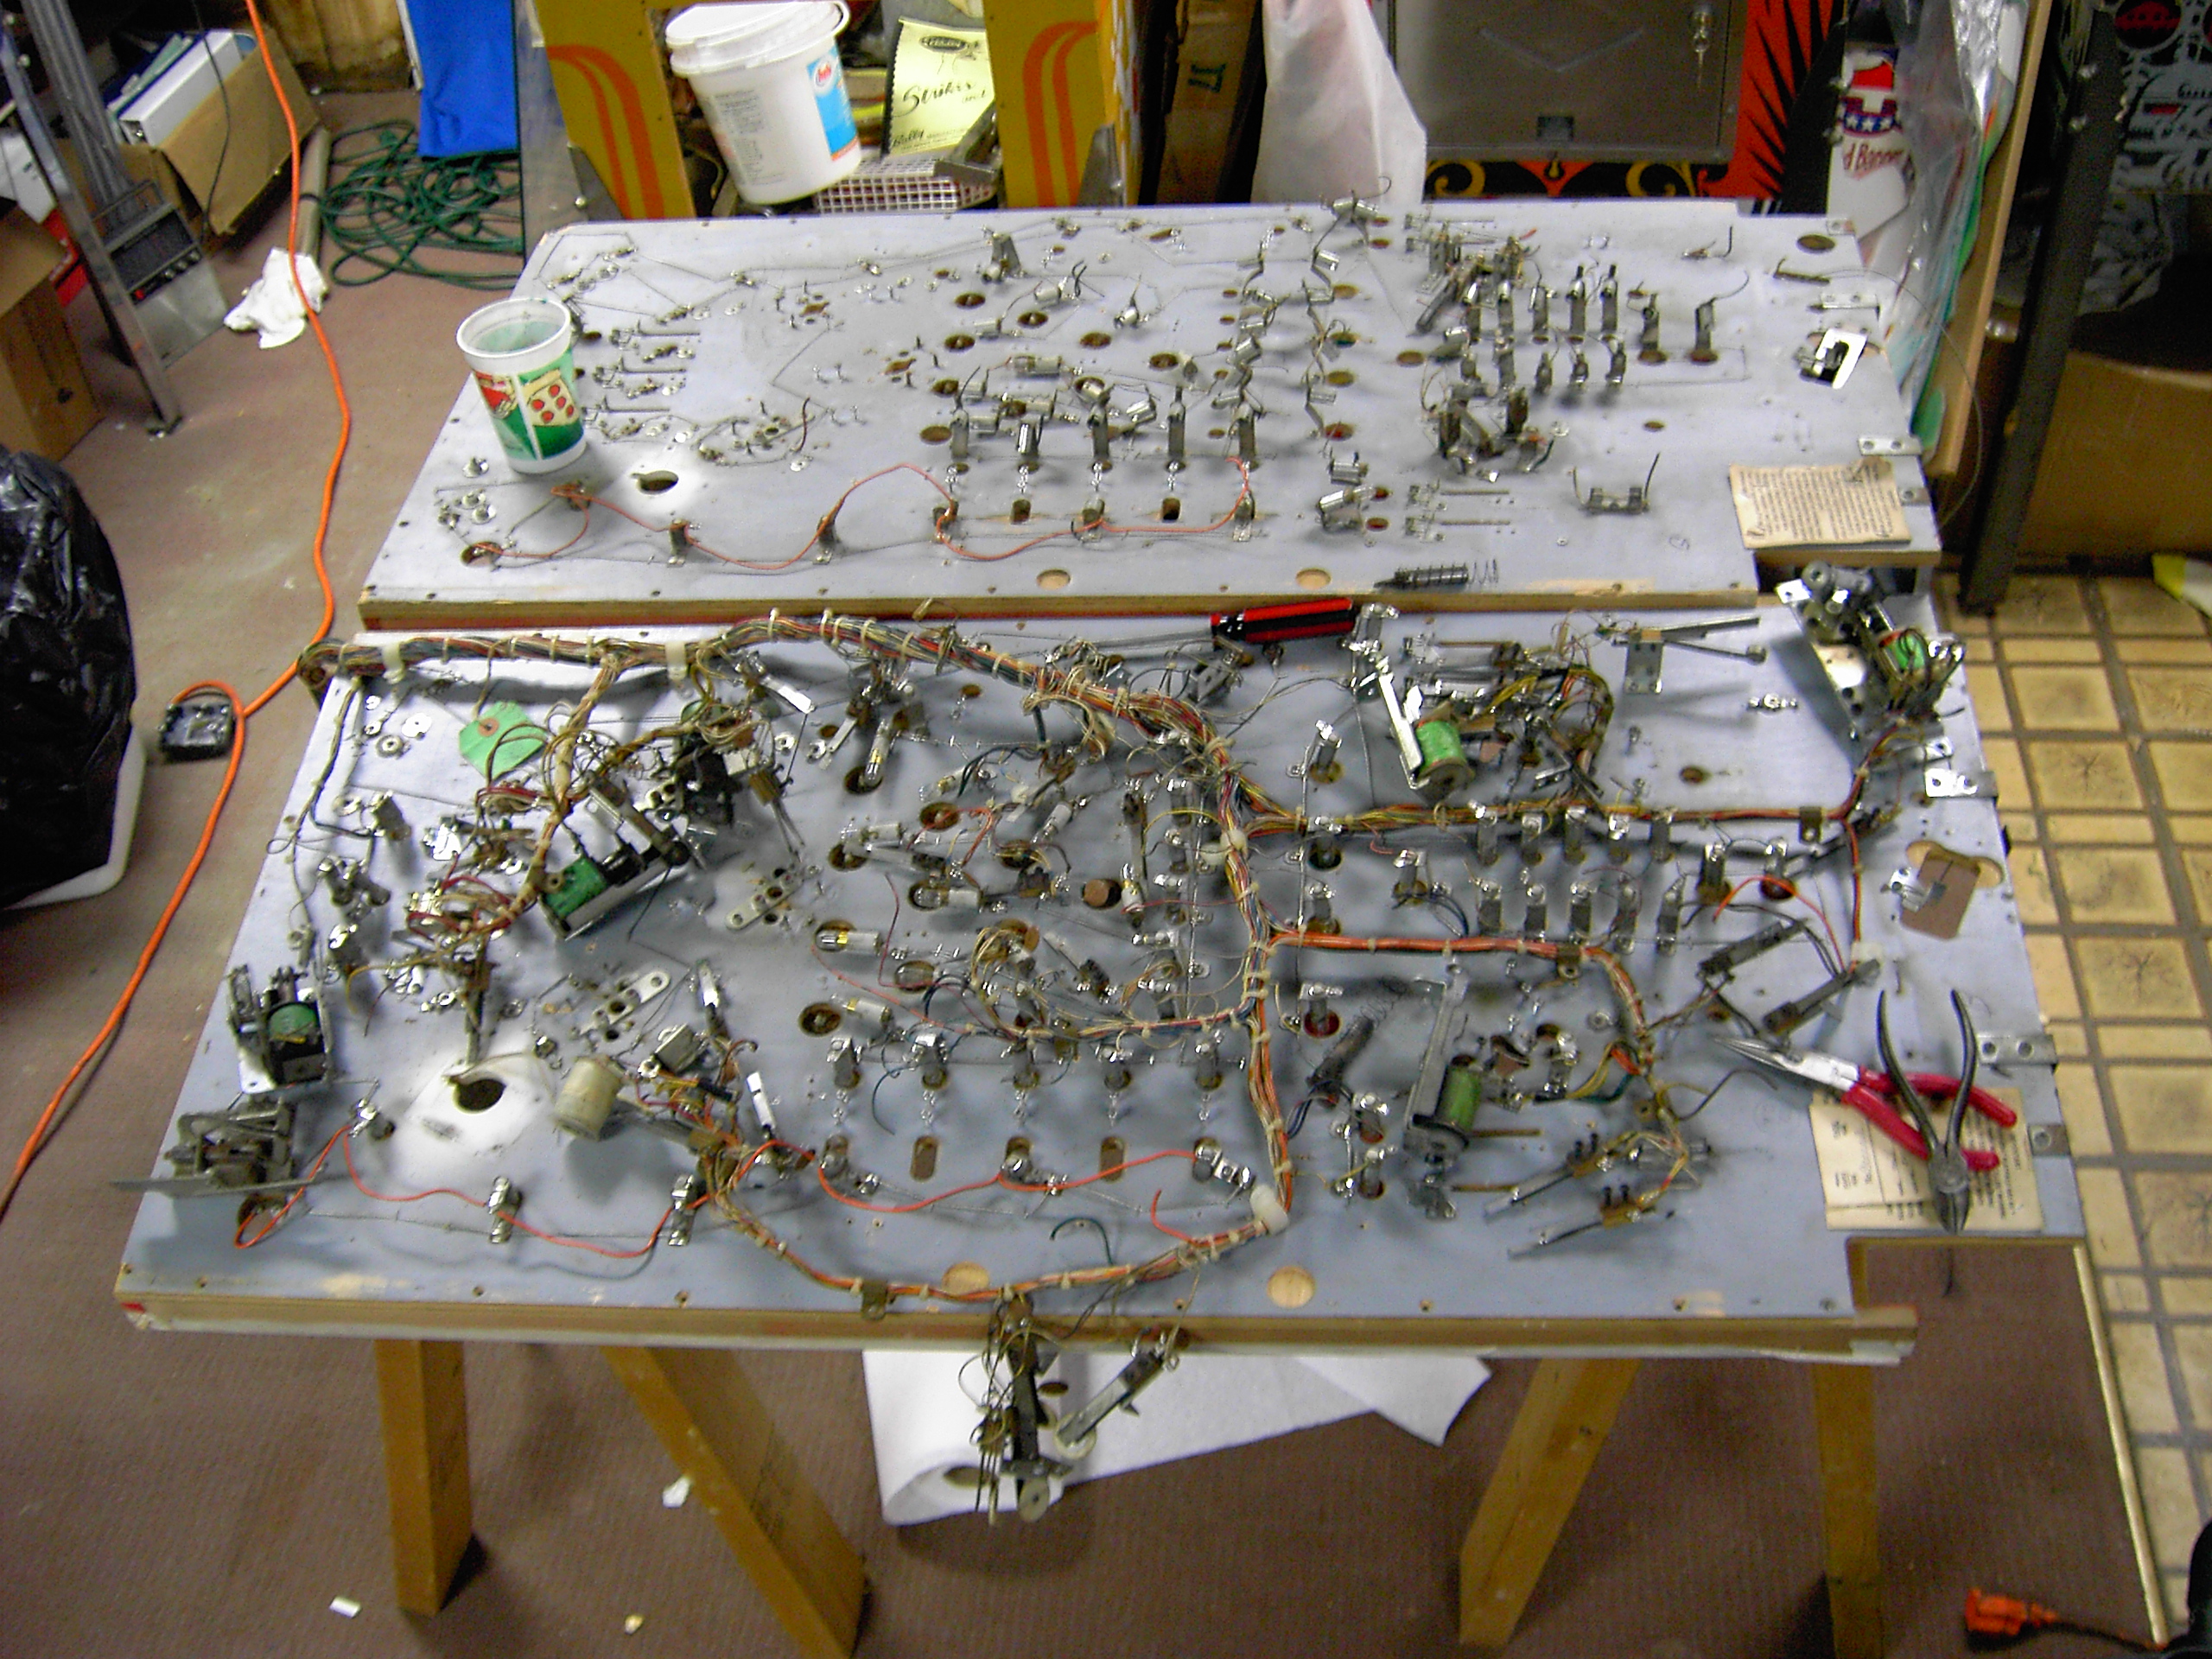
I did the playfield swap setting up two sets of saw horses and placing the two playfields side by side with the underside up. I then took pictures of the underside. I took several pictures to make sure that I had something to fall back on in case I messed up.
I then made a diagram of the switch wiring showing the wiring with wire color designations. Next, I made a separate diagram of the switched lamp wiring with the color designations. Finally, I made a diagram of the general illumination wiring with the wire colors. Again, this was for "safety" purposes. Since the wiring typically retains its shape, in most cases it's obvious where the wires go.
I then unscrewed all of the wiring and switches. I didn’t need to disconnect the wiring from the switches since I was going to move them over. Next, I clipped all of the wires to the lamps instead of unsoldering them. I figured it would be better to strip and resolder them than try to move the lamp sockets. The other playfield had lamp sockets on it for which I was glad. The lamp sockets on the "newer" playfield looked to be in better shape than the ones on the old playfield.
To do the swap, I picked up the entire mass of wiring and moved the entire mass (switches, wires, etc.) in one quick motion over to the other playfield. It's best to have a helper in doing this with each of you standing on opposite ends. Then, the two of you pick up the whole mass together and move it over. It's not as difficult as it sounds as the wires are usually "conformed" to their shape after being that way for so many years.
After moving the wiring over, the next step is to line the wiring up and route it to follow the path it did on the old playfield. Again, this isn't too difficult as the wiring tends to maintain its shape. The one difference is that the ground braid might be in a little different location/path and you might need to adjust for it.
After getting the wiring in place, I soldered the wires to their respective lamps. This was the most time consuming part of the process. I then tested the continuity of the wiring to make sure it was OK. It is easier to solder while the playfield is out of the game and horizontal then when it is installed and standing upright in the cabinet.
After the soldering was done, it was time to install the switches and targets. On Strikes and Spares this is a lot easier as there are no drop-down target assemblies or other large mechanical parts to work around. It is basically just screwing all of the switches in place. Once this was done, I put wire ties around the harness and then screwed the plastic harnesses to the playfield. Once this one done the playfield was ready to be installed in the game.
Fixing Broken Post Holes
The playfield had two posts that had issues. One of the posts that used the T-Nut was missing the underside hardware. I “borrowed” one from the old junk playfield and put it in. Another post that used a wood screw had the screw broken off in it. I drilled it out and then installed a T-nut to hold the post in place. I might add here that if you have post hole that uses a pointed screw post and the post hole is reamed out, a simple fix is to put a toothpick in the hole and then tighten the screw. Break off whatever part of the tootpick shows above the playfiled.